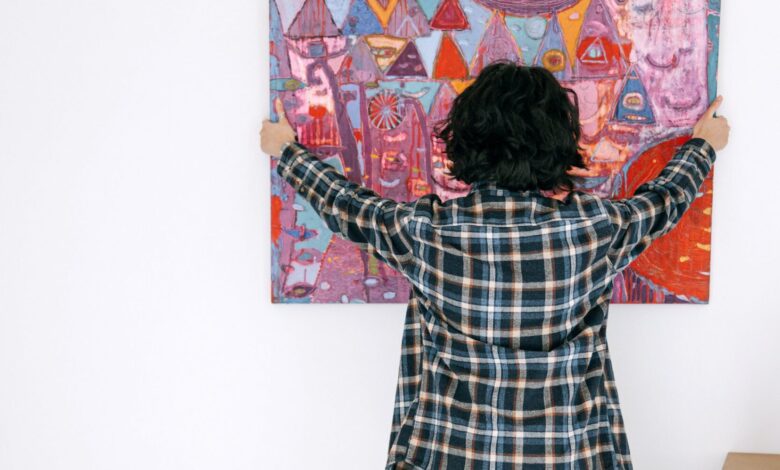
Easy Tips to String up Pictures on Plaster Walls
I enjoy adorning the walls of my home with beautiful pictures that represent original concepts. Some wall hangings are both excessively large and diminutive. They are all too beautiful, making each room reflect an individual priority. Every time I hang wall art, I worry.
Although hanging pictures on plaster walls can be challenging, I can do it correctly if I use the right equipment and procedures. I can not always perform it securely and safely. So I look for a thorough tutorial that will explain how to mount pictures on plaster walls and address some common queries I have about the process.
Tools and Materials You’ll Need:
- Wall anchors or picture hangers
- Hammer
- Sawtooth hangers or picture wire
- Pencil
- Level
- Measuring tape
- Screwdriver
- Wall putty (optional)
- Small drill (optional)
Methods you can follow
- Use a Stud: Whenever possible, hang heavy pictures on the studs for stability and long-term support. If your desired location lacks a stud, don’t worry—there are alternative methods.
- Weigh Your Picture: First, weigh your picture. Stand on a bathroom scale, note your weight, then grab the picture and weigh yourself again. Subtract your weight from the new total to determine the picture’s weight.
- Hanging Methods:
- Adhesive Strips or Hooks: For frames weighing less than 16 pounds, consider using adhesive strips or hooks. These won’t crack the plaster and leave no marks, making them ideal for renters.
- Steel Picture Hooks: For frames up to 30 pounds, opt for picture hooks with shock-absorbing nail heads. These hooks have a hardened steel nail that won’t bend and helps prevent plaster cracks. Remember to gently tap the nail into the wall rather than hammering it.
- Anchors and Gallery Systems: For heavier pictures, use anchors specifically rated for plaster. Gallery systems also work well, utilizing the strength of the plaster and lath to secure themselves once installed.
Step 1: Determine the Wall Type
Q1: How can I tell if my walls are made of plaster?
A: To check if you have plaster walls, simply tap the wall lightly with your knuckles. Plaster walls will produce a solid sound, while drywall will sound hollow.
Step 2: Choose the Right Hanging Hardware
Q2: What types of hanging hardware are suitable for plaster walls?
A: For plaster walls, you have several options:
- Picture Hangers: These are small hooks with sharp nails that you can tap directly into the plaster. They’re suitable for lighter pictures.
- Wall Anchors: Use wall anchors for heavier items. These require drilling holes and then inserting the anchors before screwing in hooks or screws.
- Adhesive Hooks: If you want to avoid making holes, consider using adhesive hooks designed for hanging pictures.
Step 3: Measure and Mark
Q3: How can I ensure my pictures are hung at the right height and position?
A: Measure the desired location for your picture, both horizontally and vertically. Use a pencil to mark the exact spot where you want to hang it.
Step 4: Use a Level
Q4: How can I make sure my picture is hanging straight?
A: Place a level vertically and horizontally to ensure your picture will hang straight. Adjust your pencil marks as needed.
Step 5: Install Hanging Hardware
Q5: What’s the process for installing picture hangers and wall anchors?
A: Depending on the type of hardware you’re using, follow these guidelines:
- For Picture Hangers: Simply tap the nail into the plaster at the marked spot, making sure it’s at a slight upward angle. The hook should be level.
- For Wall Anchors: Drill a small hole in the plaster at the marked spot and insert the wall anchor. Then, screw in the hook or screw into the anchor.
Step 6: Attach a Wire or Sawtooth Hanger
Q6: How do I attach my picture to the hanging hardware?
A: If your picture has hanging wire, attach it to the hooks or screws on the wall. If it has a sawtooth hanger, simply hang it on the hook.
Step 7: Adjust and Secure
Q7: How can I make sure my picture is level and secure on the wall?
A: Once your picture is hung, make any necessary adjustments to ensure it’s level. Double-check with the level. If you’re using adhesive hooks, press them firmly against the wall.
Step 8: Fill Holes (if necessary)
Q8: What should I do if I want to remove the picture and repair any holes in the plaster?
A: If you decide to remove the picture later or want to move it, you may have small holes in the plaster. Use wall putty to fill these holes, let it dry, and then sand it smooth before repainting.
Hanging pictures on plaster walls may require some extra effort, but with the right tools and techniques, you can display your artwork securely and beautifully.


