
Key Points to Measuring a Ceiling Fan By Naomi
My name is Naomi. I installed a new ceiling fan for myself yesterday but since yesterday it feels like the fan is small compared to the size of my room. And giving less air. Due to the short length of the fan blades, less air is being given downwards.
Probably, If the fan has long blades. The fan throws more air towards the person sitting below. Now I have thought that I will take out this small fan and replace it with a big fan. A large fan will spread air over a longer area.
For this I have collected some information which I want to share here.
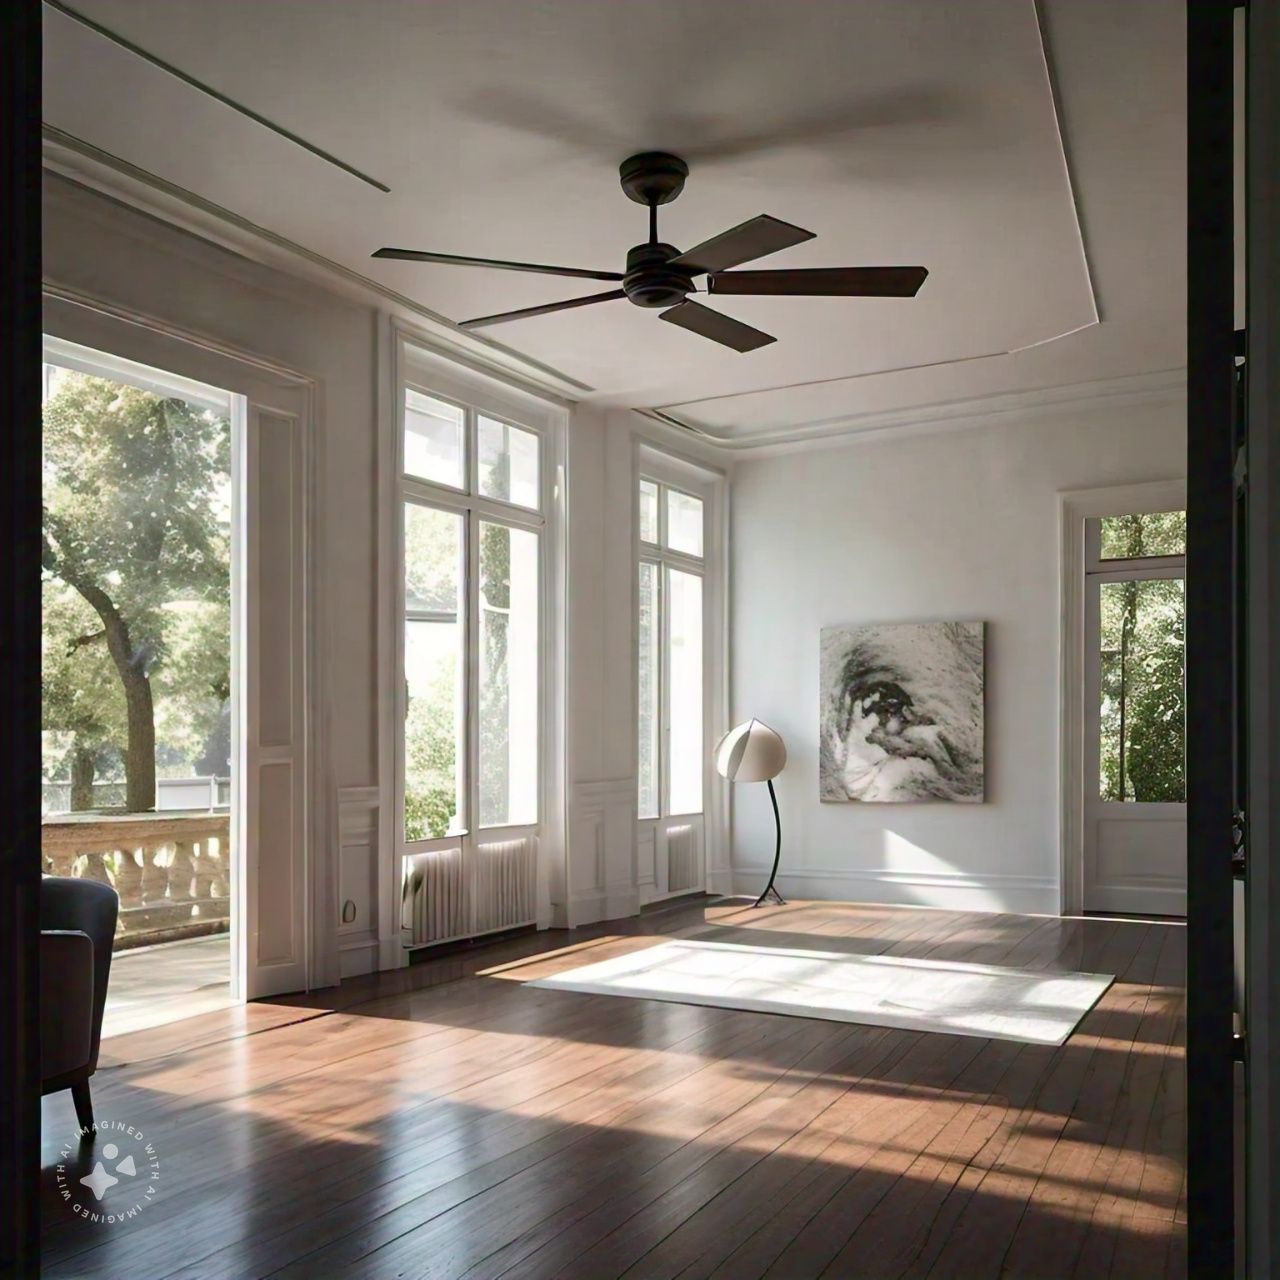
Easy Way to Measure and Install a Ceiling Fan
Ceiling fans are not only functional but also add flair to any area. When replacing an old fan with a new one, precise measurement and installation are crucial. Let us look at the details:
Assessing Your Area
- Calculate Room Size:
- Measure the length and width of the room where you plan to install the ceiling fan.
- Multiply these dimensions to find the room’s square footage.
- Choose the Right Fan size:
- tiny spaces (less than 75 sq. ft.): Opt for fans with a blade span of 29 to 36 inches.
- Medium-sized rooms (75 to 144 sq. ft.): Choose fans with a blade span of 42 to 48 inches.
- Large rooms (144 to 225 sq. ft.): Consider fans with a blade span of 50 inches or more.
- Measure the fan:
- Turn off the fan and ensure the blades are stationary.
- Use a tape measure to measure from the tip of one blade to the tip of the opposite blade (for even-bladed fans).
- For odd-bladed fans, measure from the center to the tip of a blade and multiply by two.
Installing Your Ceiling Fan
- Safety First:
- Turn off the power at the circuit breaker.
- Remove the old fixture (if any) and disconnect the wires.
- Mount the Ceiling Box:
- If there’s no existing ceiling box, hire an electrician to install one.
- The box should be securely anchored to a ceiling joist.
- Assemble the Fan:
- Attach the downrod to the fan motor.
- Lift the fan into position, aligning the mounting bracket with the ceiling box.
- Connect the wires (usually color-coded) following the manufacturer’s instructions.
- Attach the fan blades and any light kit.
- Secure the Fan:
- Use the provided screws to secure the fan to the mounting bracket.
- Ensure the fan is level.
- Test and Enjoy:
- Restart the electricity.
- Examine and adjust the fan’s configuration.
- Enjoy the pleasant breeze!
Always remember to take safety precautions, and contact a qualified electrician if you run into any wiring issues.