
How to Remove Ceiling Fan?
In this comprehensive guide, we delve into the art of removing a ceiling fan from your home. Whether you are redecorating, upgrading your fan, or just need to access the ceiling for repairs, we’ve got you covered. With step-by-step instructions, expert tips, and a dash of elbow grease, you’ll be able to bid farewell to that old fan in no time! Unveiling this enigmatic process, we first explore the intricate components of a ceiling fan. You’ll understand how everything fits together, unraveling the mysteries behind that spinning marvel above your head. Armed with this knowledge, you’ll gain an appreciation for the craftsmanship and engineering that goes into each fan, elevating your overall DIY experience.
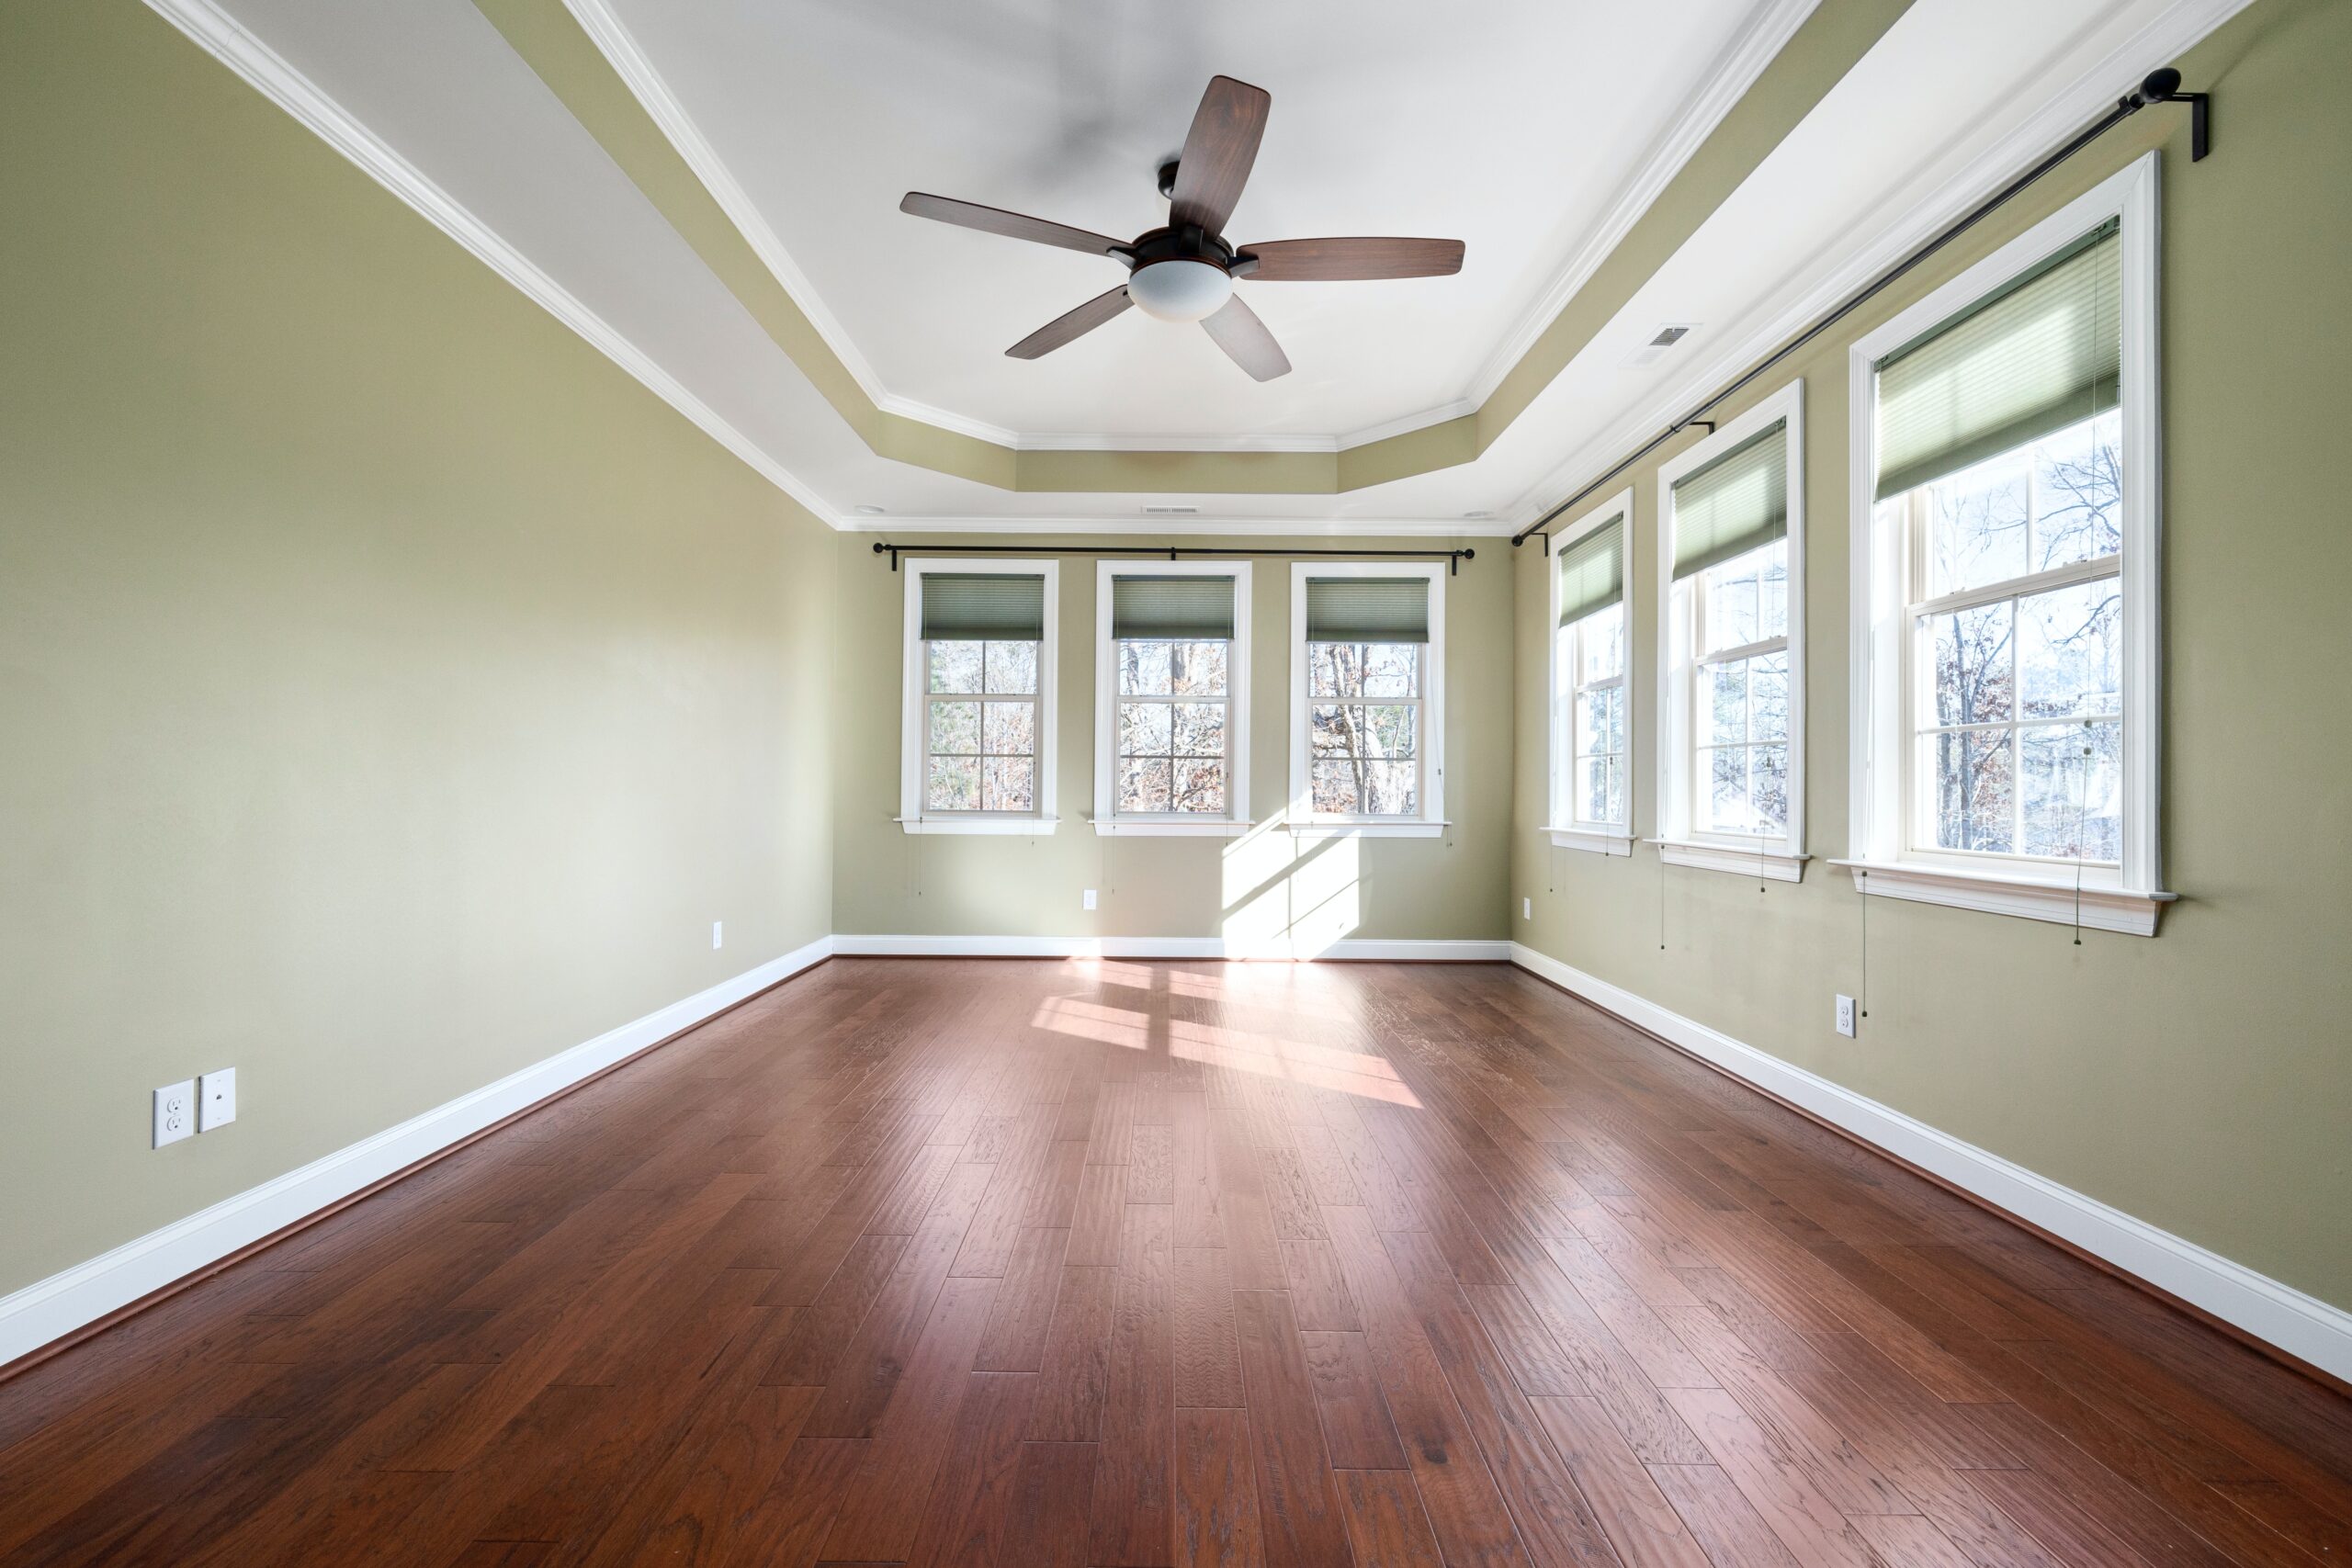
How to Remove Ceiling Fan?
Are you tired of looking at that outdated ceiling fan in your home? Maybe it’s not functioning properly or just doesn’t match your decor anymore. Whatever the reason may be, removing a ceiling fan may seem like a daunting task, but fear not! In this comprehensive guide, we will take you through the step-by-step process of removing a ceiling fan with ease. Firstly, we understand the importance of having a well-ventilated and comfortable space. A ceiling fan plays a crucial role in maintaining the ideal temperature and airflow within a room. However, when it comes to updating or replacing your ceiling fan, it is essential to know the correct method to ensure a smooth transition. With our easy-to-follow instructions, you can bid farewell to that old ceiling fan in no time. Here’s a breakdown of the key steps to remove a ceiling fan:- Gather the necessary tools: Before you begin, make sure you have all the required tools at hand, including a ladder, screwdriver, pliers, wire connectors, and electrical tape.
- Turn off the power: Safety first! Always turn off the power supply to the fan from the circuit breaker to avoid any accidents.
- Uninstall the fan blades: Using a screwdriver, carefully remove the fan blades by unscrewing them from the mounting brackets.
- Disconnect the electrical connections: Identify the wires coming from the ceiling and detach them from the fan’s wiring using wire connectors and electrical tape.
- Detach the mounting bracket: Remove the mounting bracket from the ceiling by unscrewing it, and be sure to have someone hold the fan to prevent it from falling.
- Patch up the ceiling: Finally, smooth out any imperfections or holes left behind from the old fan by patching them up with spackle or putty.