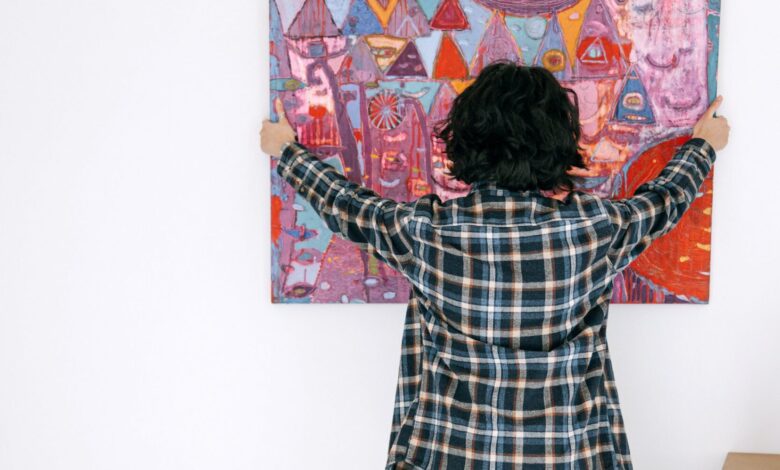
How to Hang Pictures on Plaster Walls: A Comprehensive Guide with FAQs
Hanging pictures on plaster walls can be a bit tricky, but with the proper techniques and tools, you can do it safely and securely. This comprehensive guide will walk you through the process of hanging pictures on plaster walls and answer some frequently asked questions related to this task.
Step-by-Step Guide: Hanging Pictures on Plaster Walls
Tools and Materials You’ll Need:
- Picture hangers or wall anchors
- Hammer
- Picture wire or sawtooth hangers
- Pencil
- Level
- Measuring tape
- Screwdriver
- Wall putty (optional)
- Small drill (optional)
Step 1: Determine the Wall Type
Q1: How can I tell if my walls are made of plaster?
A: To check if you have plaster walls, simply tap the wall lightly with your knuckles. Plaster walls will produce a solid sound, while drywall will sound hollow.
Step 2: Choose the Right Hanging Hardware
Q2: What types of hanging hardware are suitable for plaster walls?
A: For plaster walls, you have several options:
- Picture Hangers: These are small hooks with sharp nails that you can tap directly into the plaster. They’re suitable for lighter pictures.
- Wall Anchors: Use wall anchors for heavier items. These require drilling holes and then inserting the anchors before screwing in hooks or screws.
- Adhesive Hooks: If you want to avoid making holes, consider adhesive hooks designed for hanging pictures.
Step 3: Measure and Mark
Q3: How can I ensure my pictures are hung at the right height and position?
A: Measure the desired location for your picture, both horizontally and vertically. Use a pencil to mark the exact spot where you want to hang it.
Step 4: Use a Level
Q4: How can I make sure my picture is hanging straight?
A: Place a level vertically and horizontally to ensure your picture will hang straight. Adjust your pencil marks as needed.
Step 5: Install Hanging Hardware
Q5: What’s the process for installing picture hangers and wall anchors?
A: Depending on the type of hardware you’re using, follow these guidelines:
- For Picture Hangers: Simply tap the nail into the plaster at the marked spot, making sure it’s at a slight upward angle. The hook should be level.
- For Wall Anchors: Drill a small hole in the plaster at the marked spot and insert the wall anchor. Then, screw in the hook or screw into the anchor.
Step 6: Attach Hanging Wire or Sawtooth Hanger
Q6: How do I attach my picture to the hanging hardware?
A: If your picture has hanging wire, attach it to the hooks or screws on the wall. If it has a sawtooth hanger, simply hang it on the hook.
Step 7: Adjust and Secure
Q7: How can I make sure my picture is level and secure on the wall?
A: Once your picture is hung, make any necessary adjustments to ensure it’s level. Double-check with the level. If you’re using adhesive hooks, press them firmly against the wall.
Step 8: Fill Holes (if necessary)
Q8: What should I do if I want to remove the picture and repair any holes in the plaster?
A: If you decide to remove the picture later or want to move it, you may have small holes in the plaster. Use wall putty to fill these holes, let it dry, and then sand it smooth before repainting.
Hanging pictures on plaster walls may require some extra effort, but with the right tools and techniques, you can display your artwork securely and beautifully.