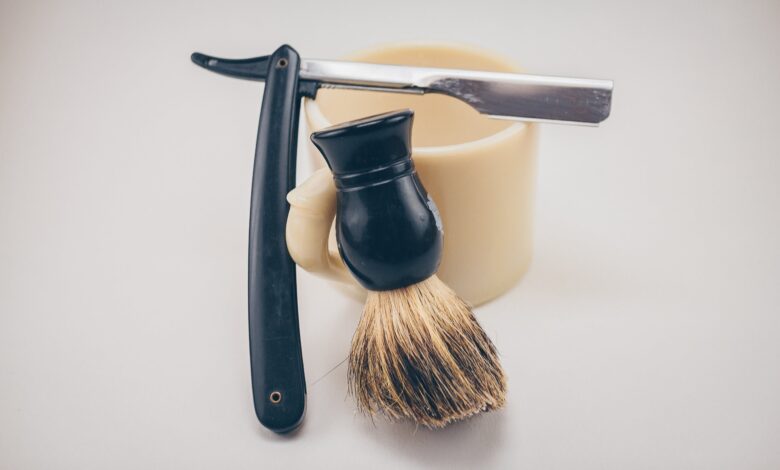
Razors are essential grooming tools for many people, helping you maintain a clean and smooth appearance. To ensure your razor stays in top condition and provides you with a comfortable and effective shave, it’s important to clean it regularly. This guide will walk you through the steps to clean your razor and answer some frequently asked questions about razor maintenance.
How to Clean a Razor
Step 1: Disassemble the Razor
- Unscrew the handle: For most razors, the first step is to remove the handle or cartridge from the head. This will allow you to access the blades and clean them thoroughly.
- Carefully remove the blades: If you have a disposable razor, carefully detach the blades from the head. If you’re using a cartridge razor, you may need to follow specific instructions provided by the manufacturer.
Step 2: Rinse with Warm Water
- Rinse the blades: Hold the razor under warm, running water to remove any remaining shaving cream, hair, and debris. The warm water will help soften any remaining residue, making it easier to clean.
Step 3: Soak in Soapy Water
- Prepare a bowl of soapy water: Fill a bowl with warm water and add a few drops of mild liquid soap. Swirl the water to create a soapy solution.
- Soak the razor: Submerge the razor head (the part with the blades) in the soapy water. Let it soak for a few minutes to help loosen any remaining gunk.
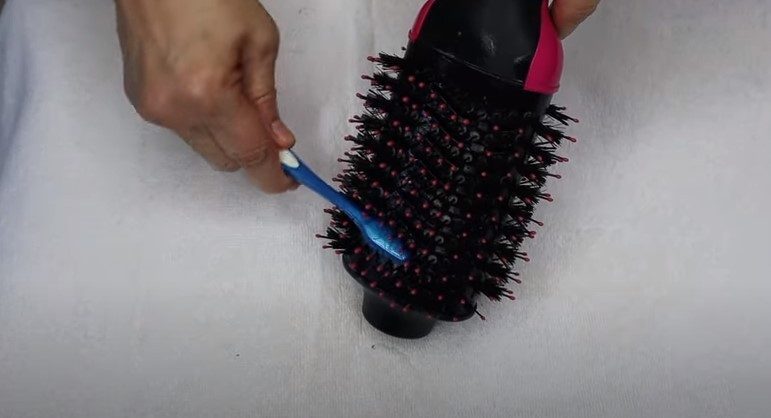
Step 4: Brush and Scrub
- Use a soft brush: After soaking, use a soft-bristle brush (a toothbrush works well) to gently scrub the razor blades and head. Be thorough, but avoid using excessive force, as you don’t want to damage the blades.
- Pay attention to crevices: Make sure to clean the nooks and crannies of the razor head, as these areas are prone to trapping debris.
Step 5: Rinse and Dry
- Rinse again: Rinse the razor thoroughly under warm running water to remove all soap residue and loosened debris.
- Shake off excess water: Give the razor a few shakes to remove excess water.
- Pat dry with a towel: Gently pat the razor dry with a clean towel. Ensure it’s completely dry before reassembling it.
Step 6: Reassemble the Razor
- Reassemble the razor: Carefully reattach the blades to the razor head, and then screw the handle back on.
Frequently Asked Questions (FAQs) about Cleaning Razors
1. How often should I clean my razor?
You should clean your razor after every use. This will prevent the accumulation of hair, shaving cream, and other debris, ensuring a more hygienic and effective shave.
2. Can I use alcohol to disinfect my razor?
Yes, you can use rubbing alcohol to disinfect your razor. After cleaning the razor with warm, soapy water, you can soak it in alcohol for a few minutes, then rinse and dry it. This will help kill any bacteria and further sterilize the razor.
3. Should I oil my razor after cleaning it?
It’s a good idea to apply a thin layer of mineral oil or a specific razor lubricant to the blades after cleaning and drying them. This will help prevent rust and keep the blades in good condition.
4. Can I clean an electric razor in the same way?
Electric razors require a different cleaning process. Refer to the manufacturer’s instructions for your specific electric razor, as they often provide cleaning solutions and instructions for maintaining the device.
5. How do I know when it’s time to replace the blades?
The frequency of blade replacement depends on how often you shave and the coarseness of your hair. A general rule of thumb is to replace the blades every 5-10 shaves or when you notice a decrease in shaving performance, such as tugging or irritation.
Properly cleaning your razor is essential for maintaining its longevity, ensuring a comfortable shave, and preventing skin irritation. By following these steps and the provided FAQs, you can keep your razor in top condition and continue to enjoy a smooth and clean shave.